Do you love wearing paw print jewellery? If so, you’ll want to check out our blog on the stages of making paw print jewellery, as we think you will find it quite fascinating!
Step 1: Preparing the Paw Print
The first stage is capturing your pet’s unique paw print and then preparing it for jewellery making. The quickest and easiest way to capture your pet’s paw print is with an inkless paw print kit which you can order from our website. Once you have paw prints, you can simply upload them to the website via our upload your paw prints page or email a photo of your paw prints to [email protected].
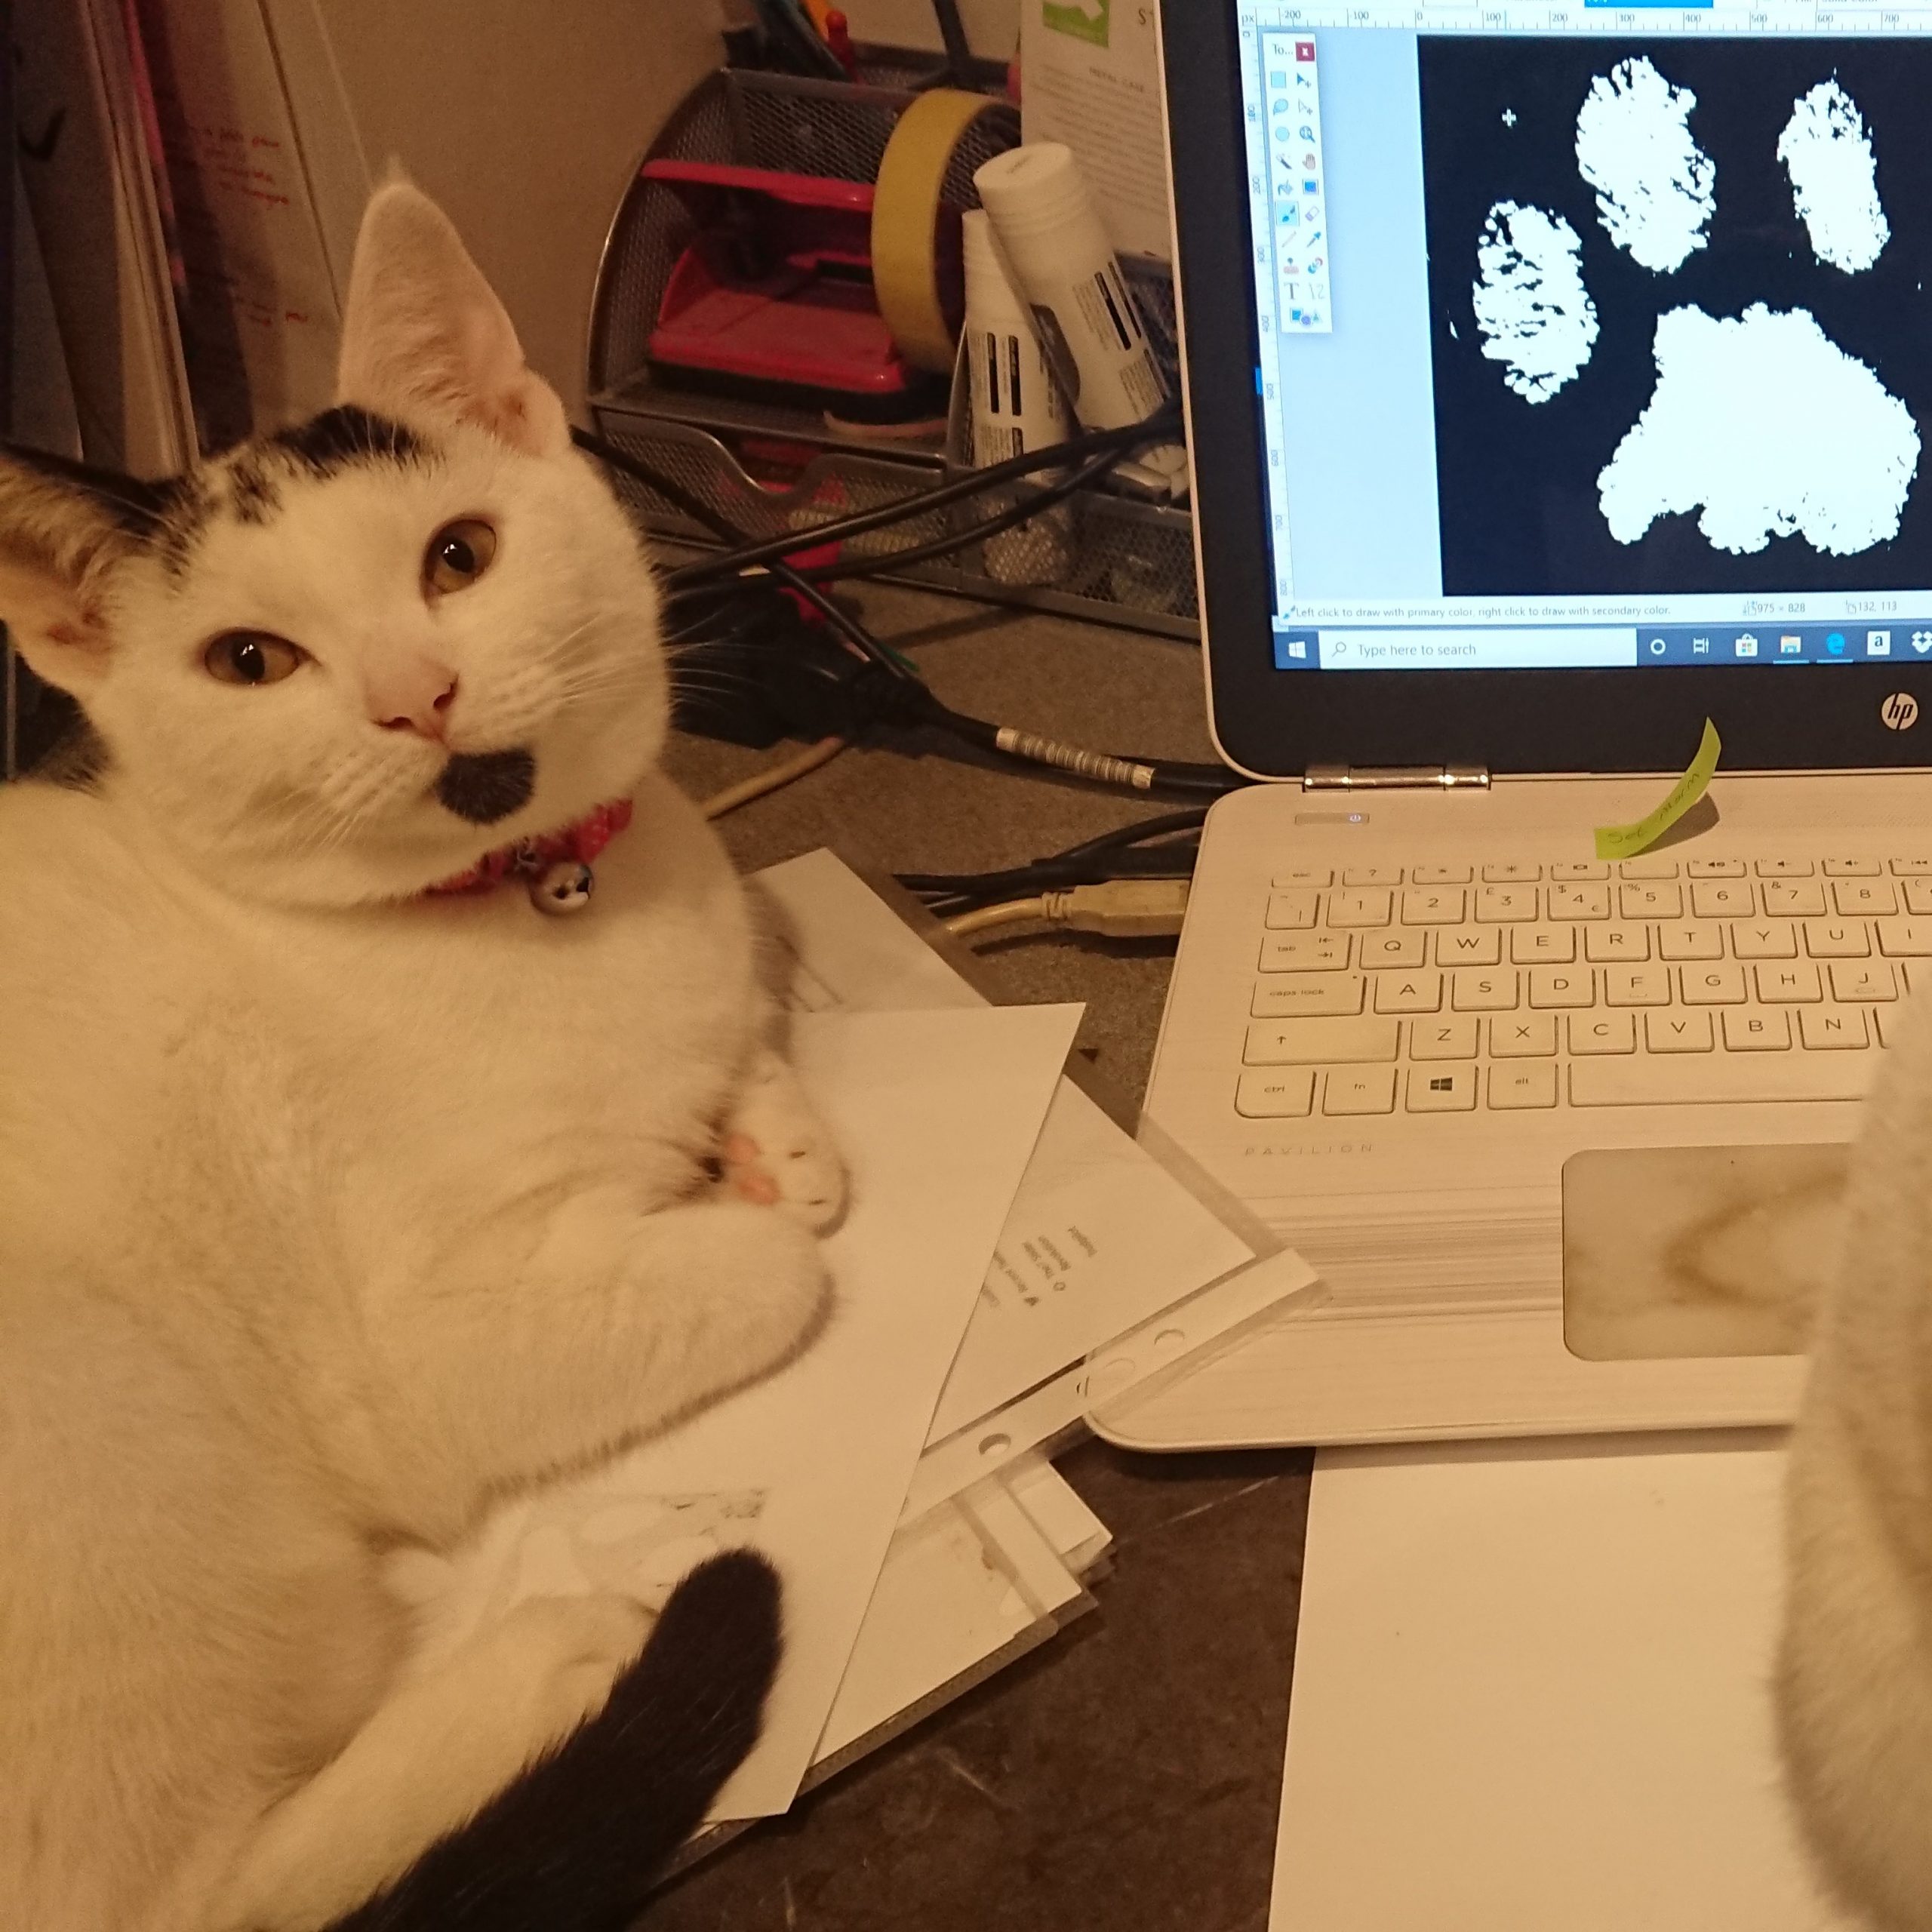
Luna helping in the office preparing prints for making paw print jewellery
We carefully work on your pet’s unique paw prints, tidying up any extra furry bits to give you a clearer paw print. If you send us multiple paw prints we will tidy up as many as we can so you have a choice of paw prints. We will email you your tidied up paw prints so you can choose your favourite print that will be used for making paw print jewellery.
Step 2: Making the Paw Print Jewellery Stamp
The next stage is creating a paw print stamp, which involves special polymer sachets and a UV lamp. Your chosen paw print is reduced in size digitally to fit the jewellery design you have requested. We go through a series of stages to produce a miniature stamp of your pet’s unique paw print that can then be pressed into the silver clay to begin making paw print jewellery for you.
Step 3: Adding the Paw Print to Silver Clay
Our sterling silver jewellery is created using a material called silver clay, which is a precious metal clay (also known as PMC). Silver clay is an eco friendly and sustainable product made from recycled silver particles, an organic binder and water. In it’s wet form the silver clay can be rolled out flat and moulded into various shapes to create a practically limitless number of jewellery designs as it is so versatile.
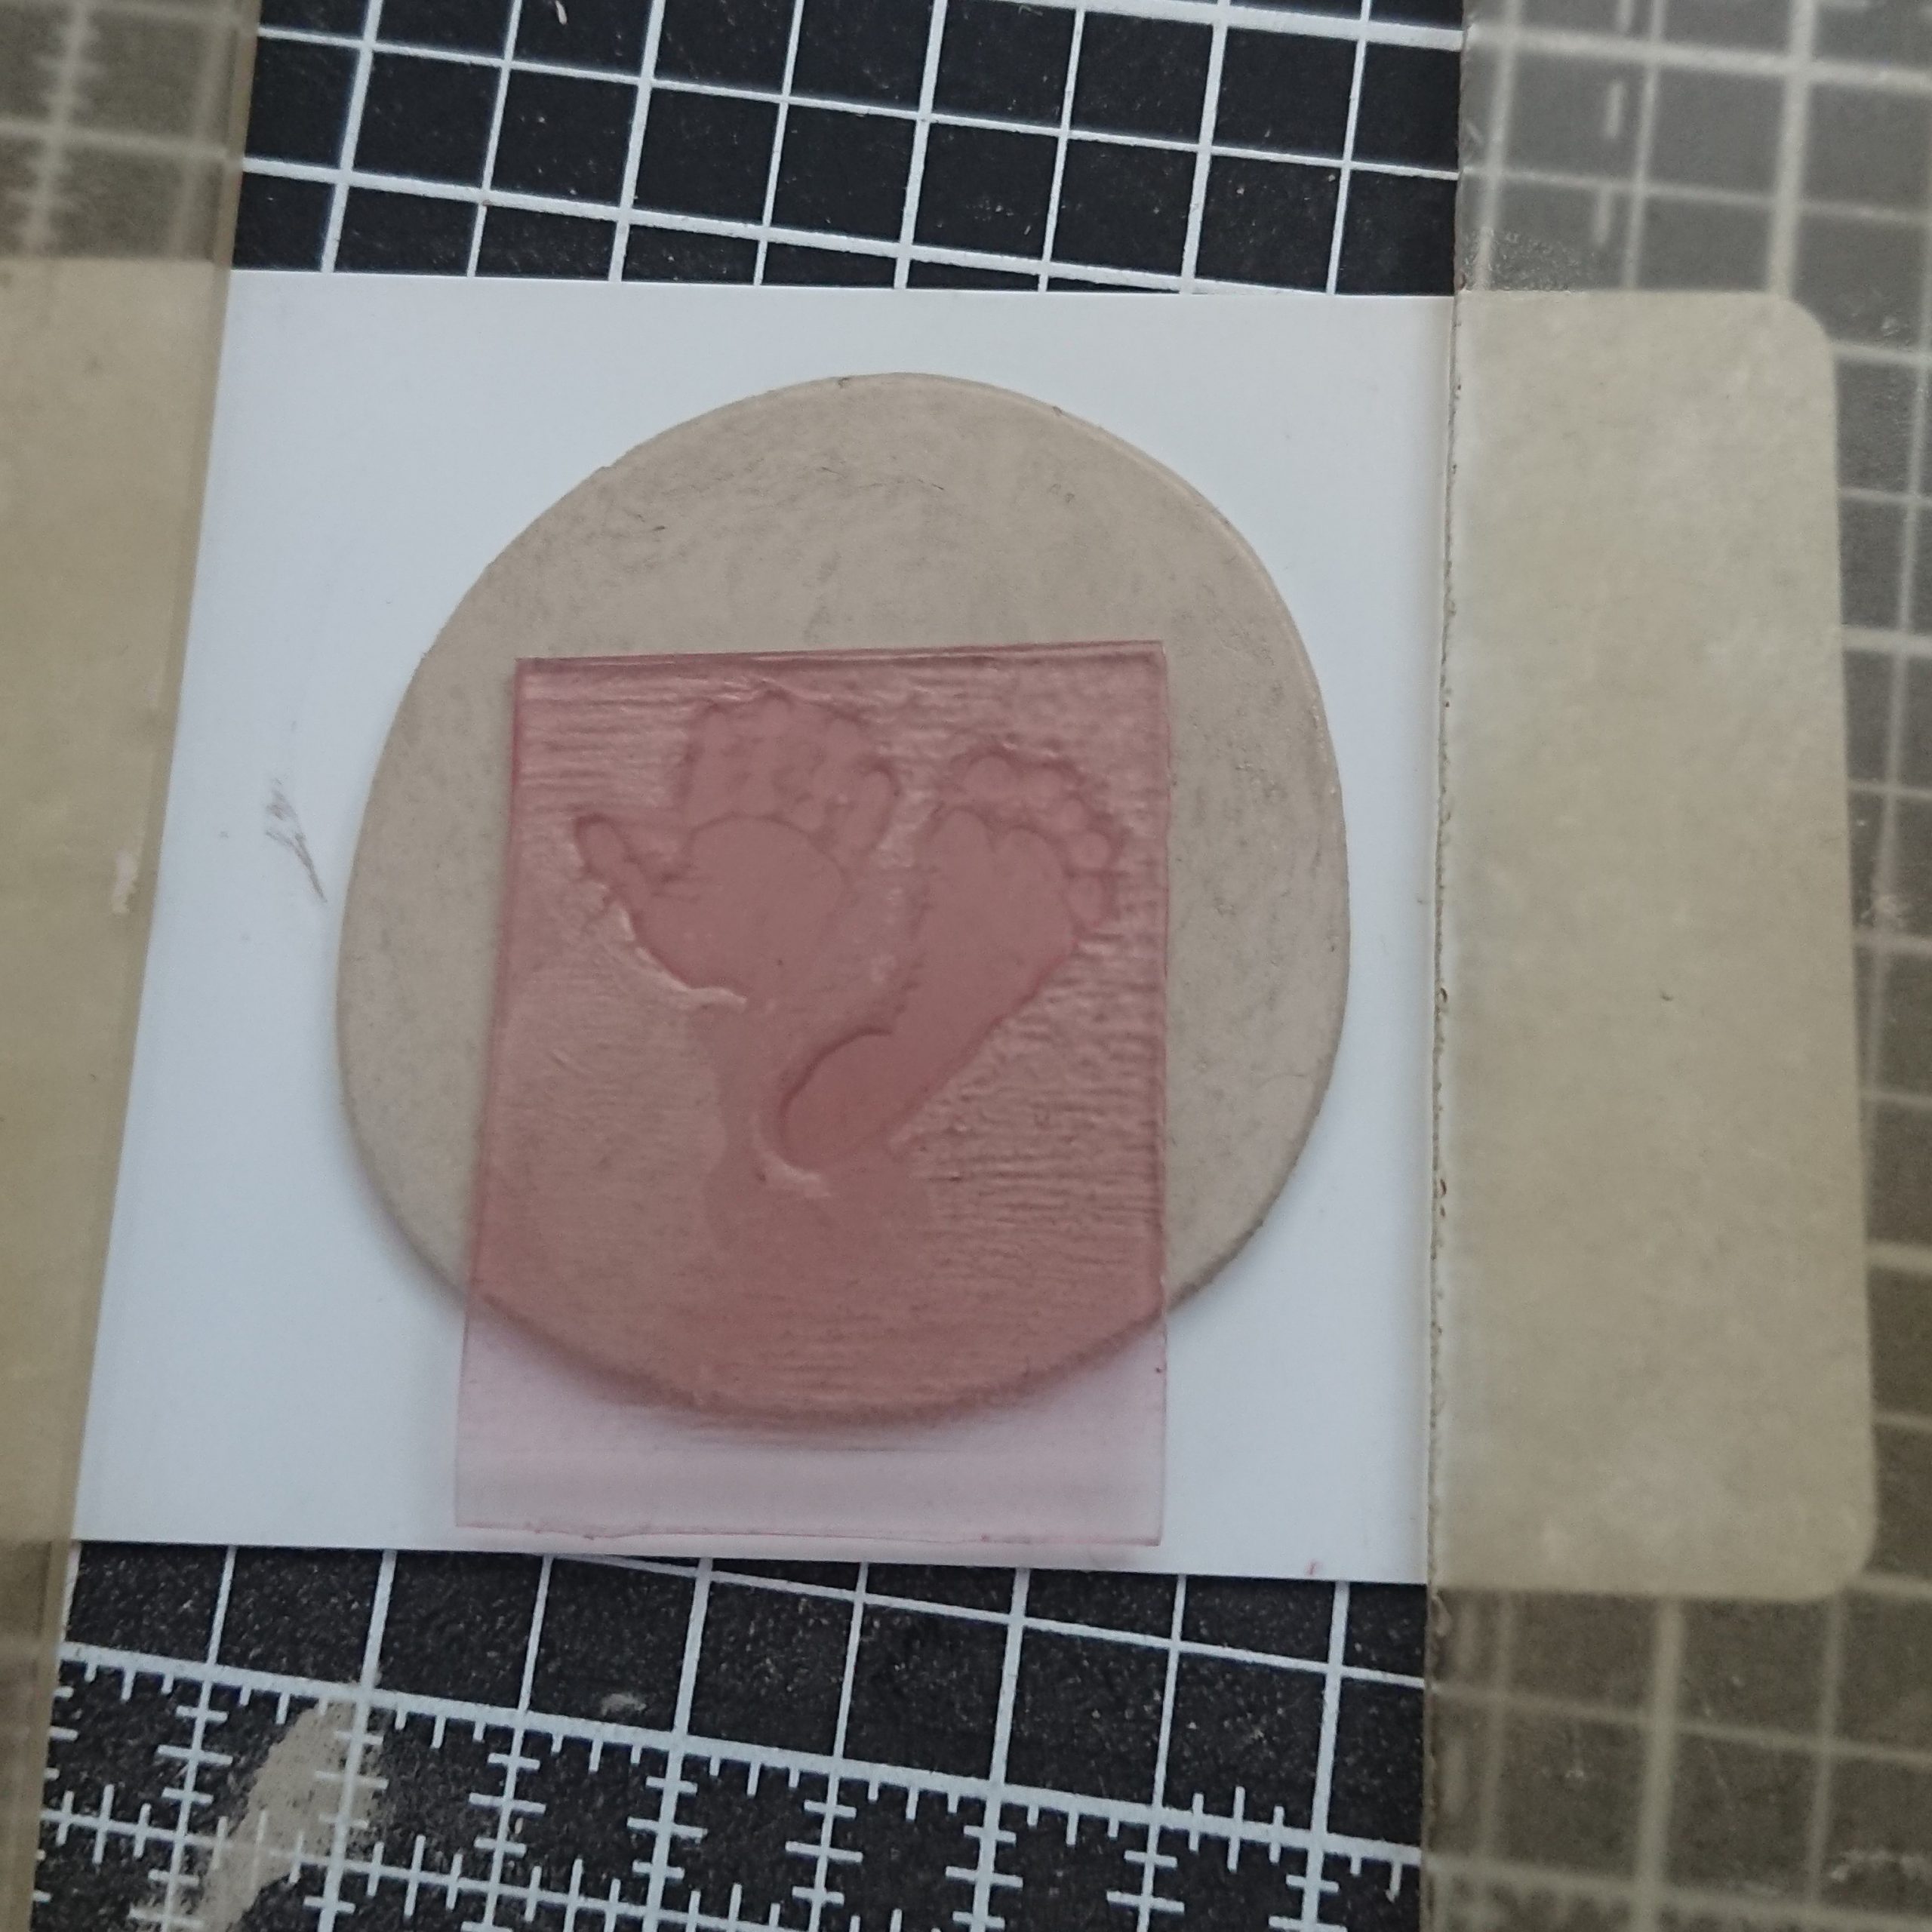
Pressing a hand and footprint stamp into silver clay.
A piece of silver clay is taken and rolled out to a specific thickness, we have spacer bars that are used to ensure all our jewellery designs are created to the same thickness. The special paw print stamp created earlier is then pressed into the silver to create the paw imprint in the silver clay.
Depending on the design you have chosen, the correct metal cutter is then used to cut the silver clay to the desired shape e.g. heart, oval, star etc or the silver clay is cut free hand to the shape of the paw print (cut out paw print charm). Once the cutting stage is finished, the silver clay is then left to dry for around 24 hours.
Step 4: Sanding and Inscribing your Paw Print Jewellery
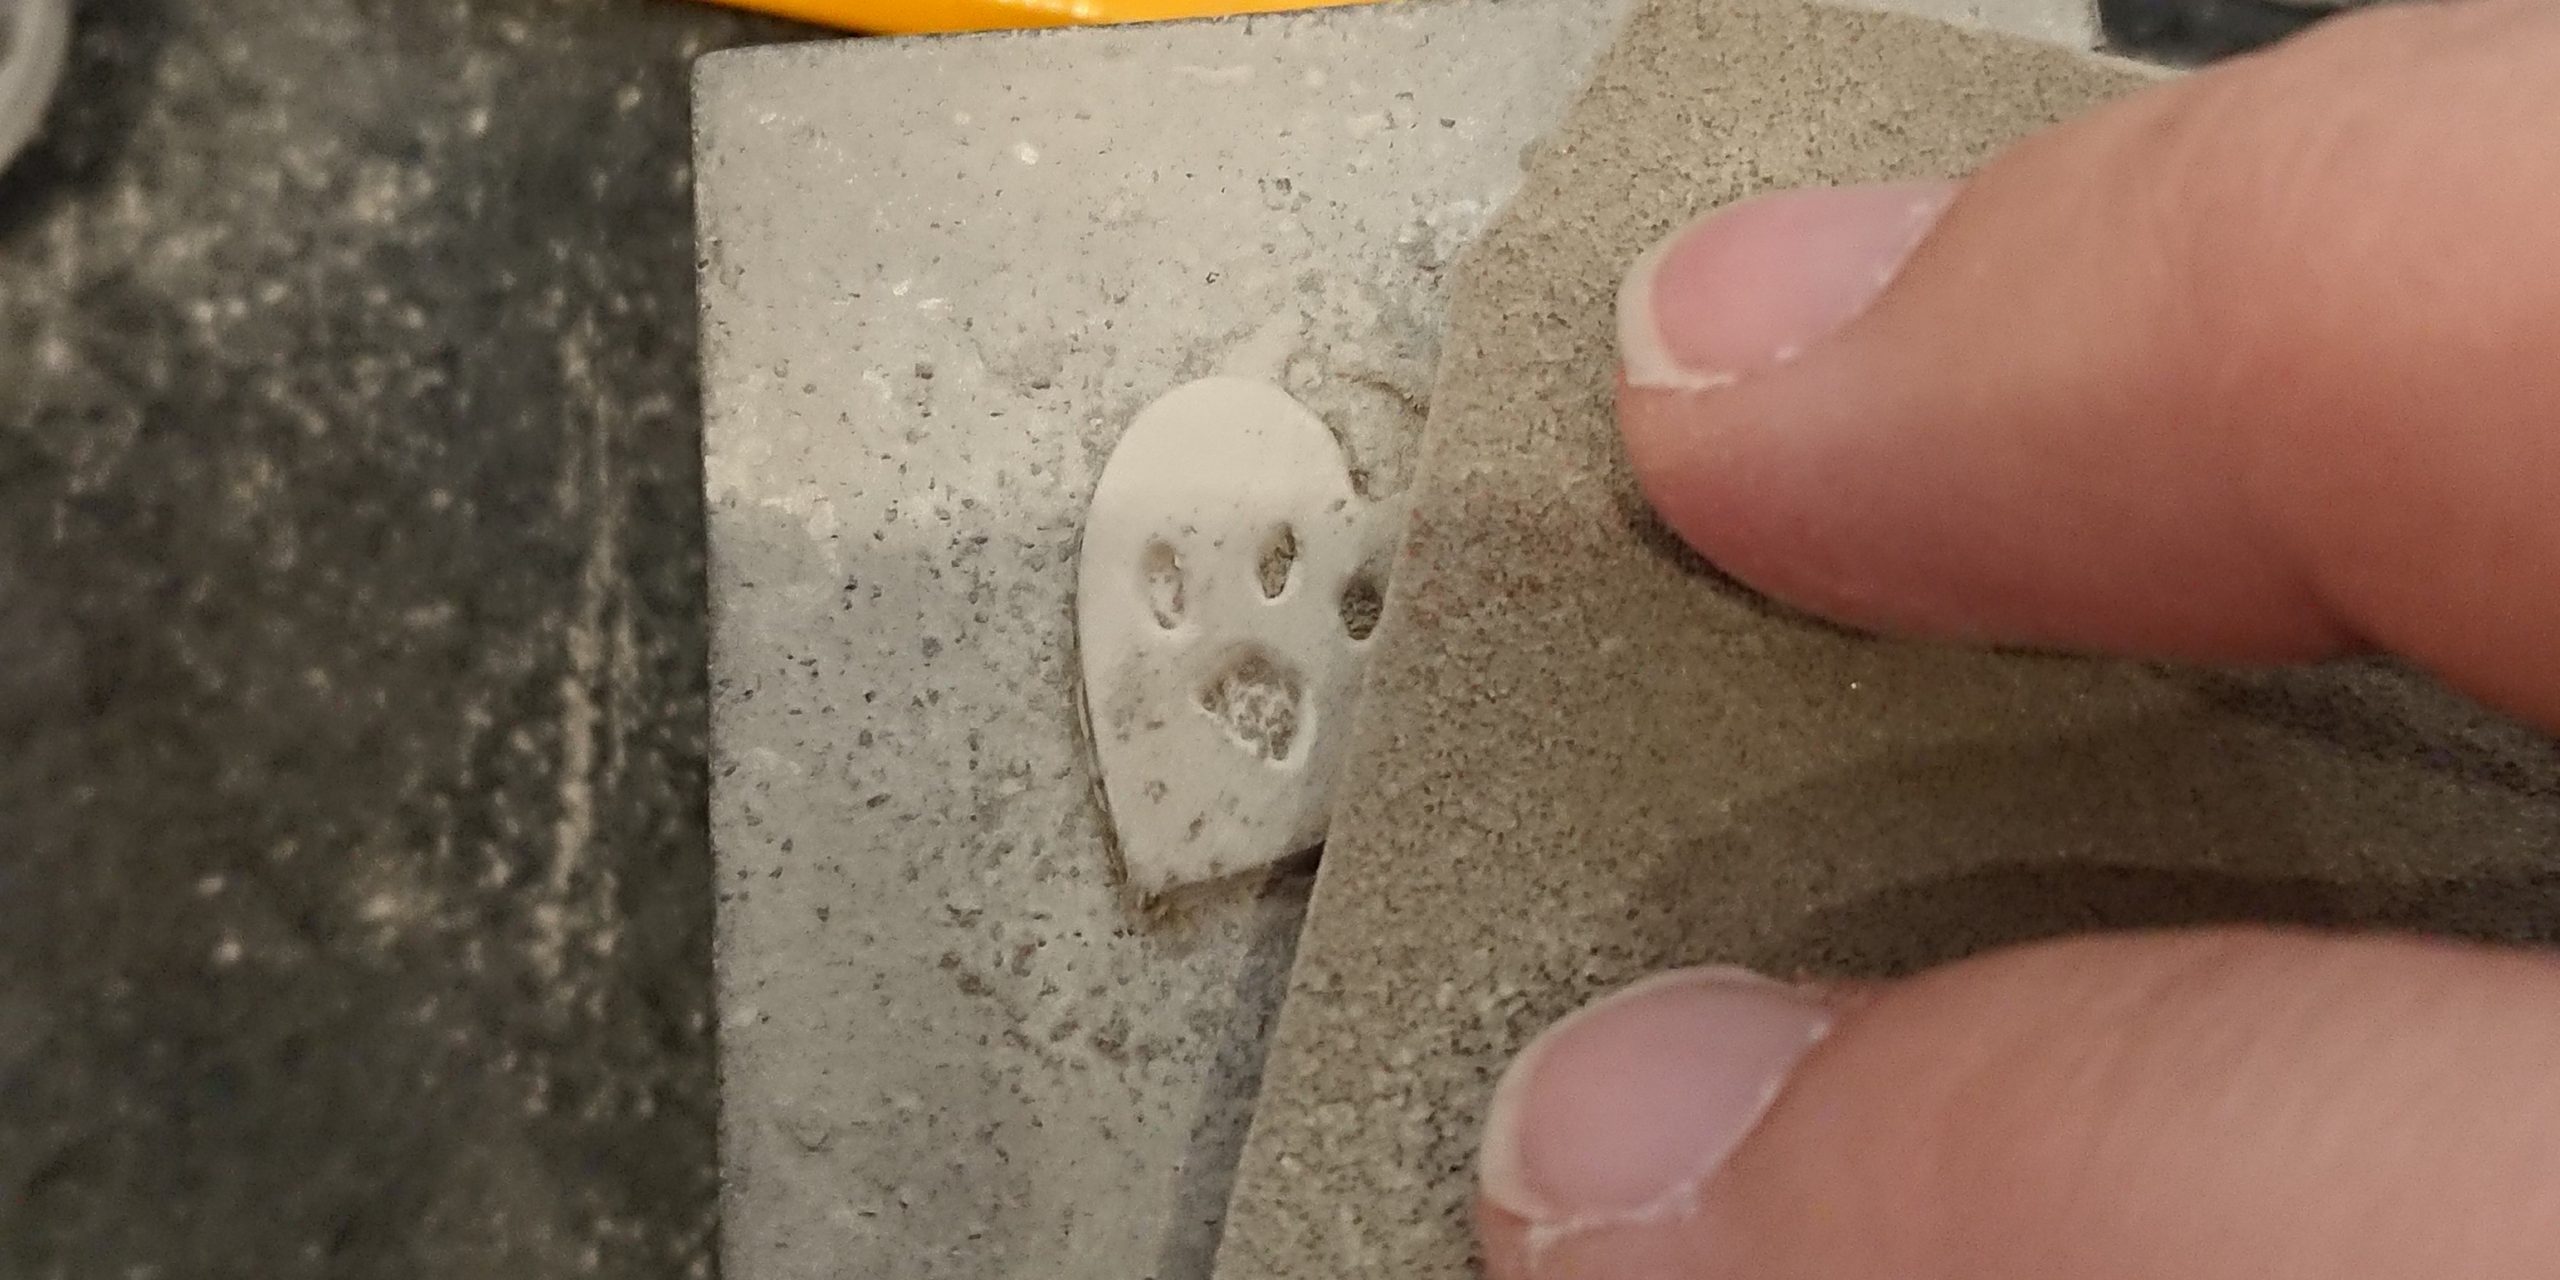
Once dry, the next stage of making paw print jewellery is sanding and inscribing. Various grade of special sanding pads are used to sand the silver clay to achieve a nice smooth finish. If the jewellery design needs a hole for a jump ring, this is drilled by hand with a small hand tool.
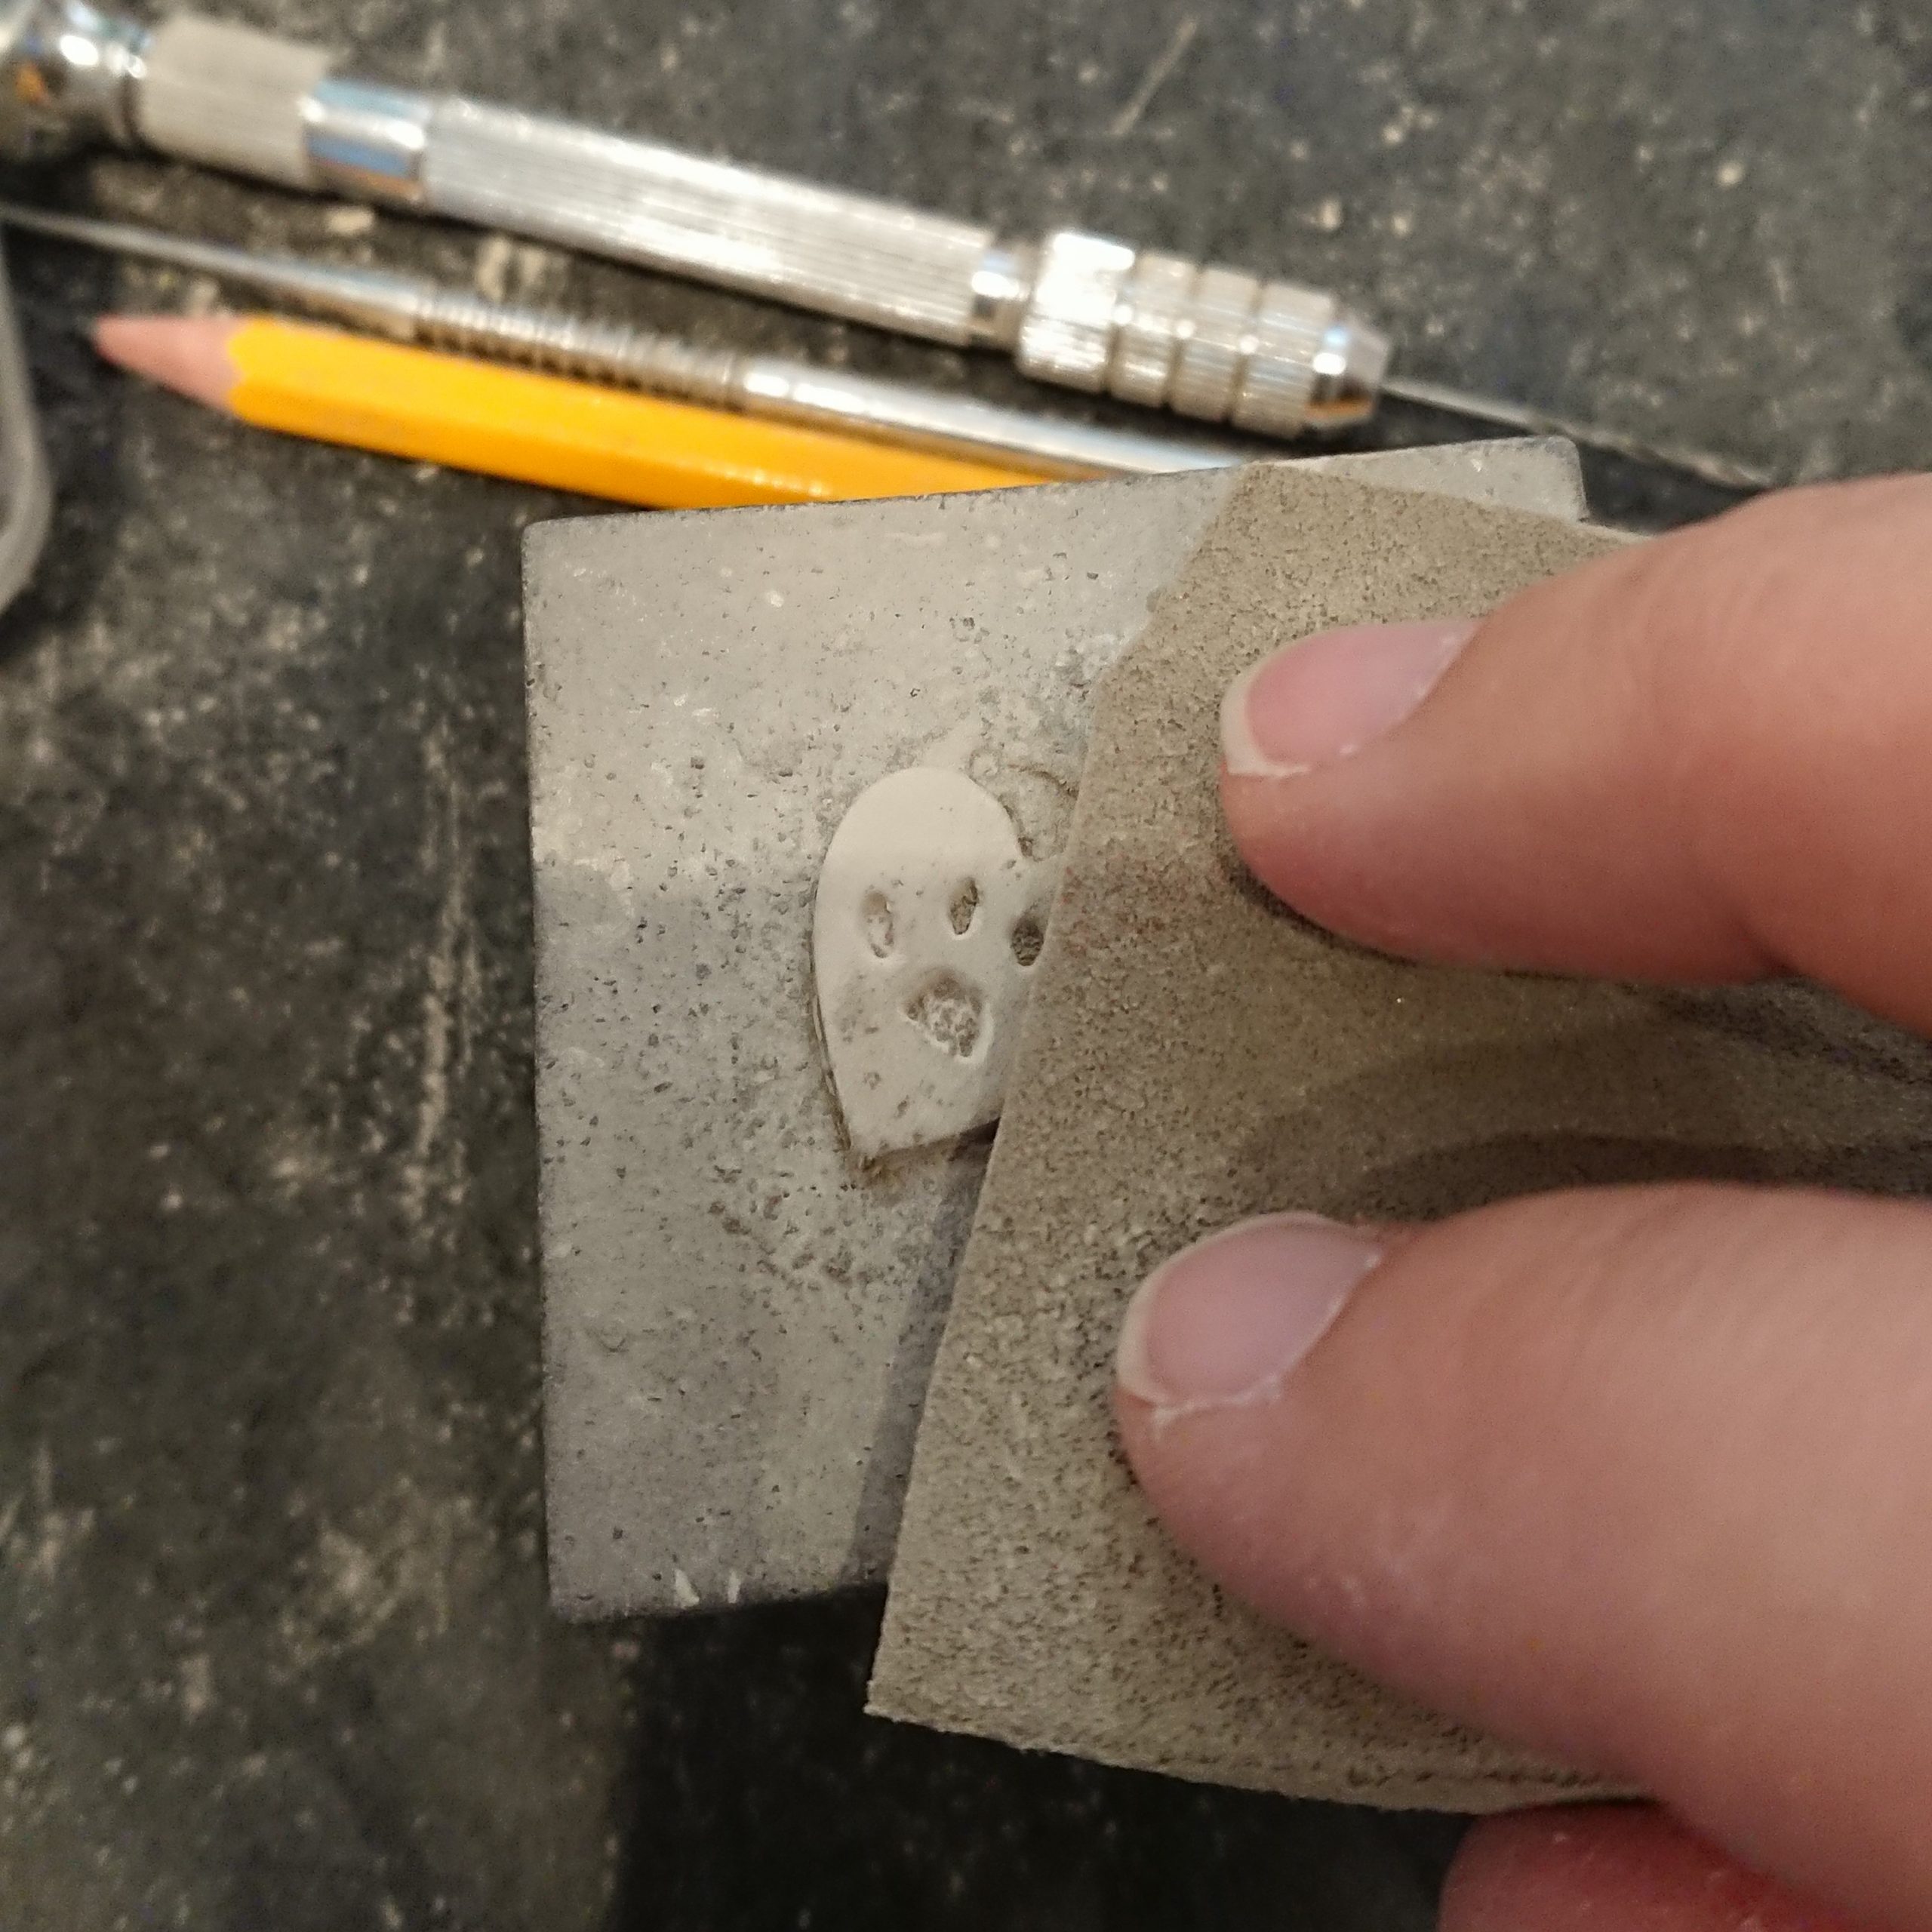
Silver paw print charm being sanded with specialist sanding pads
If you have asked for your jewellery to be personalised with your pet’s name and/or date or special message this is inscribed onto your jewellery by hand with a special inscribing tool. Each letter or number is carefully spaced out in pencil first and then inscribed one by one.
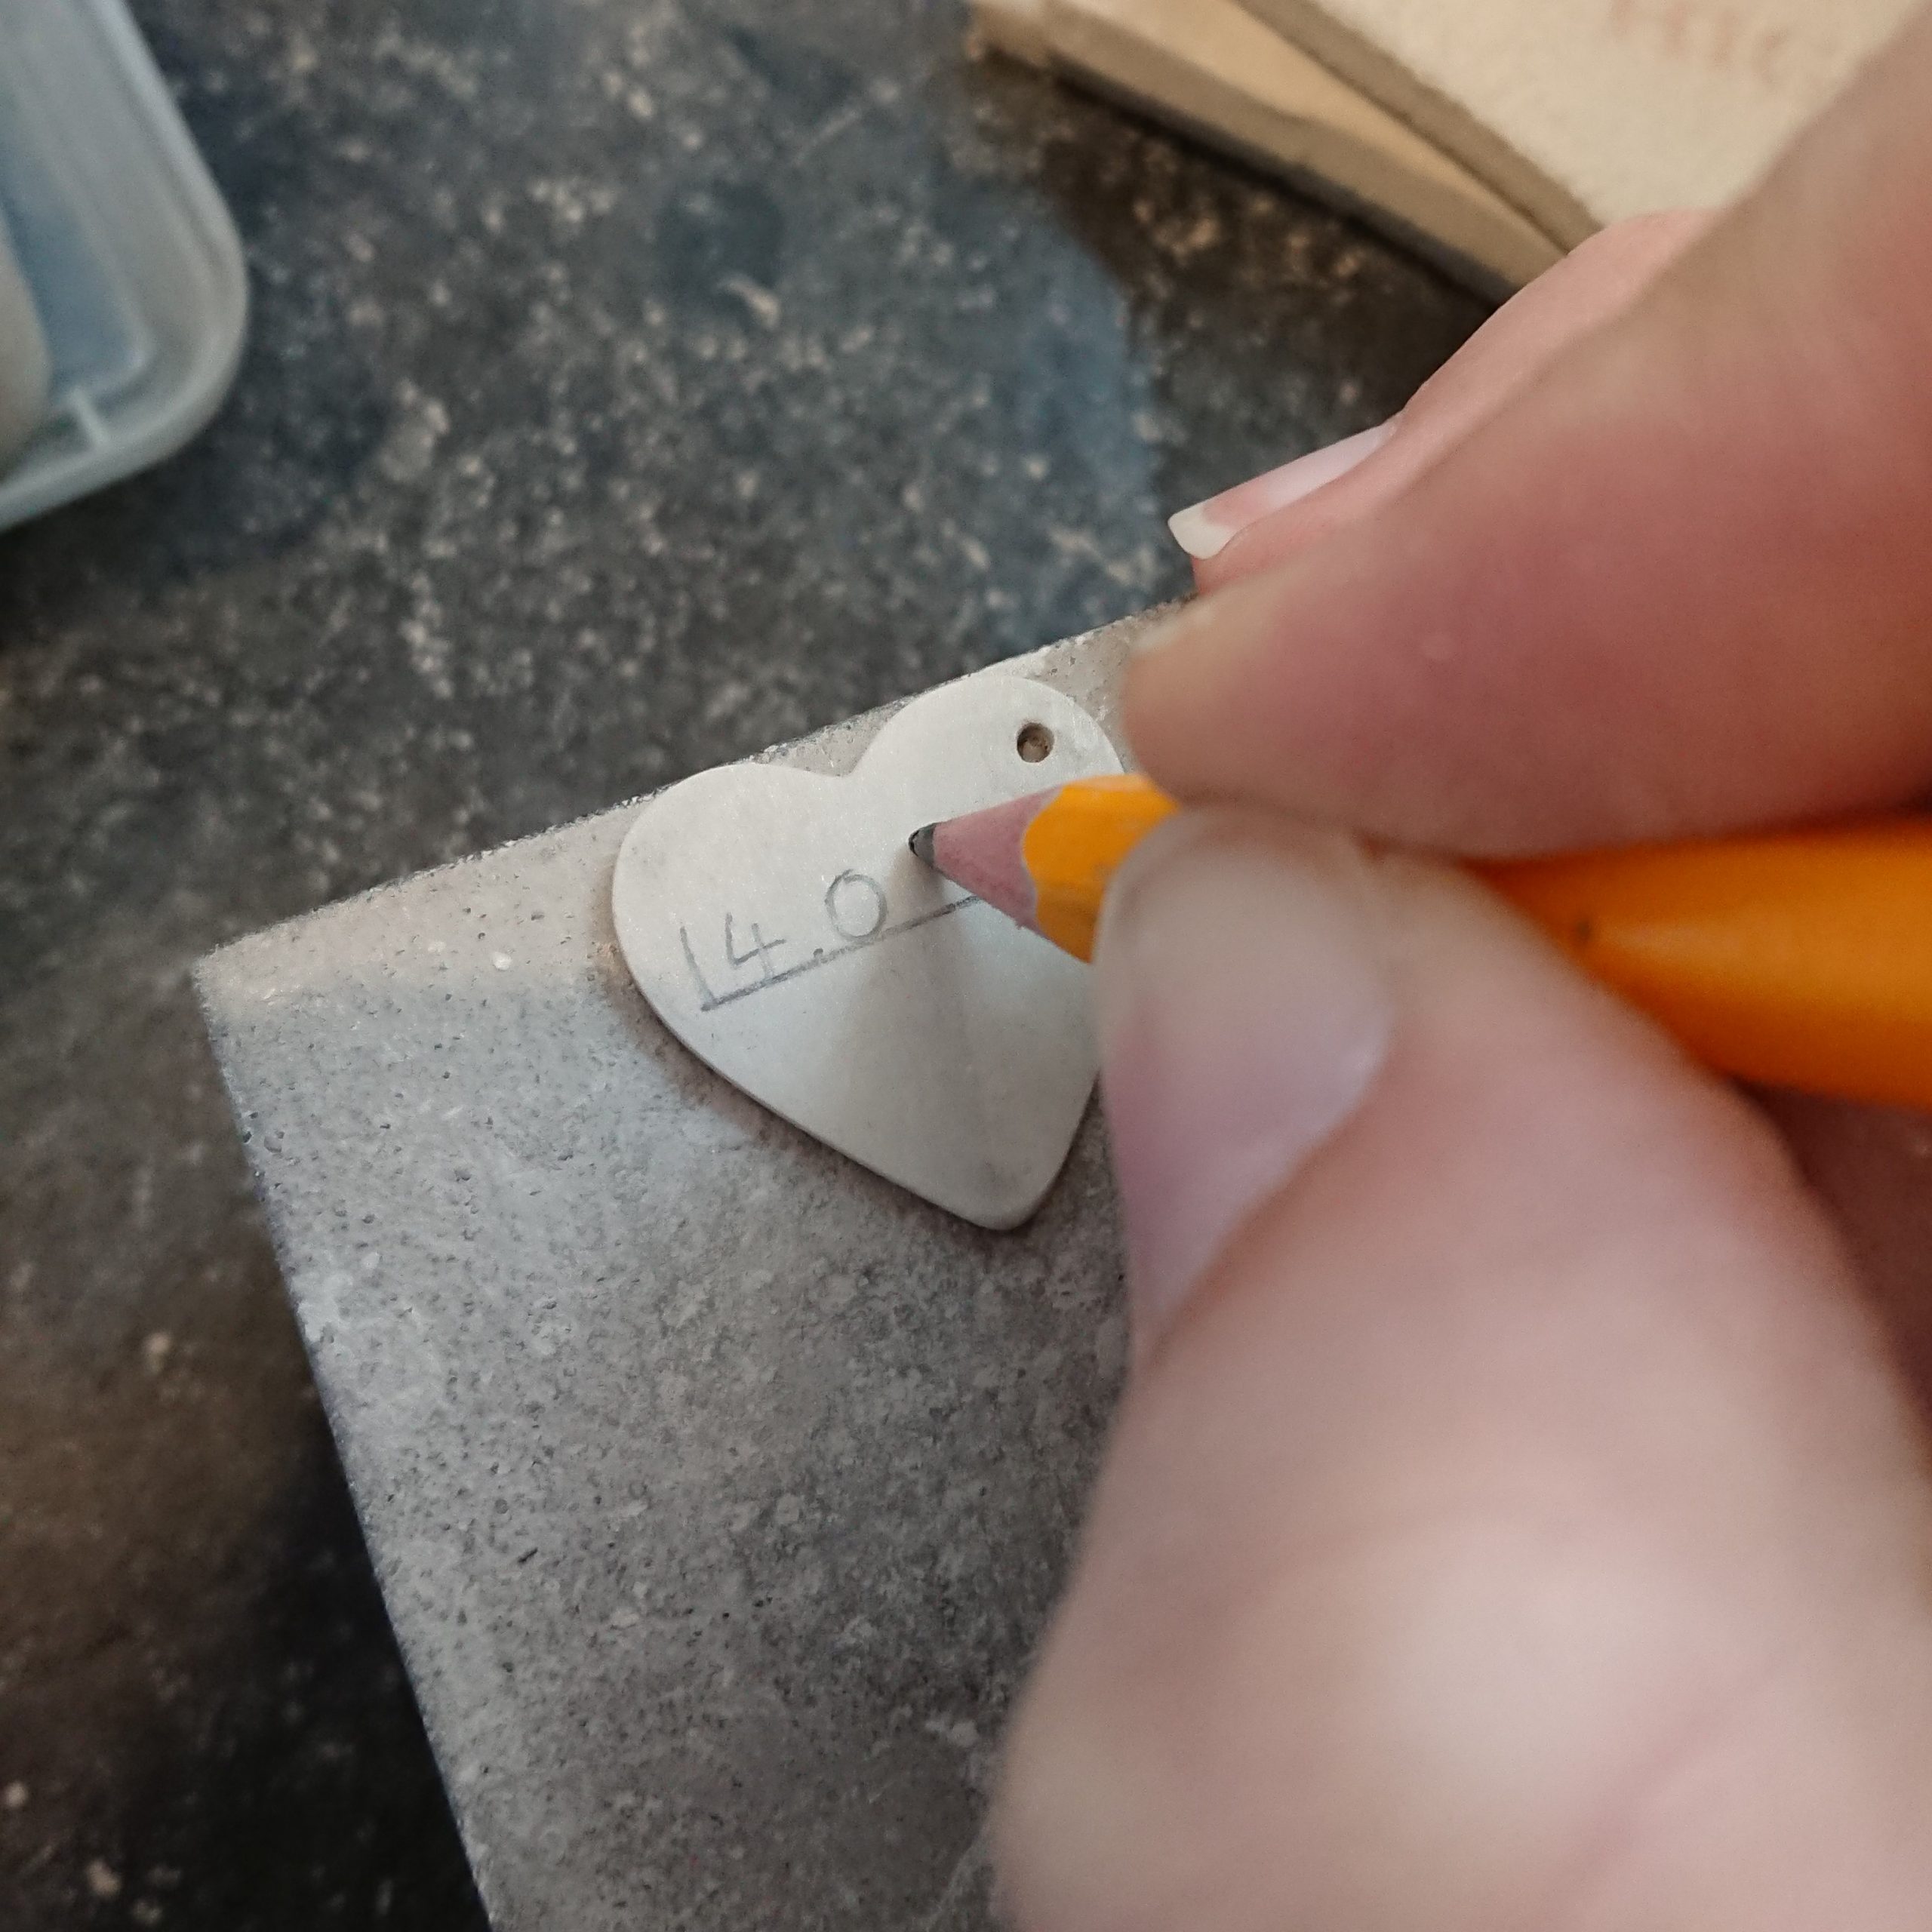
Using a pencil to get the spacing for a special date correct
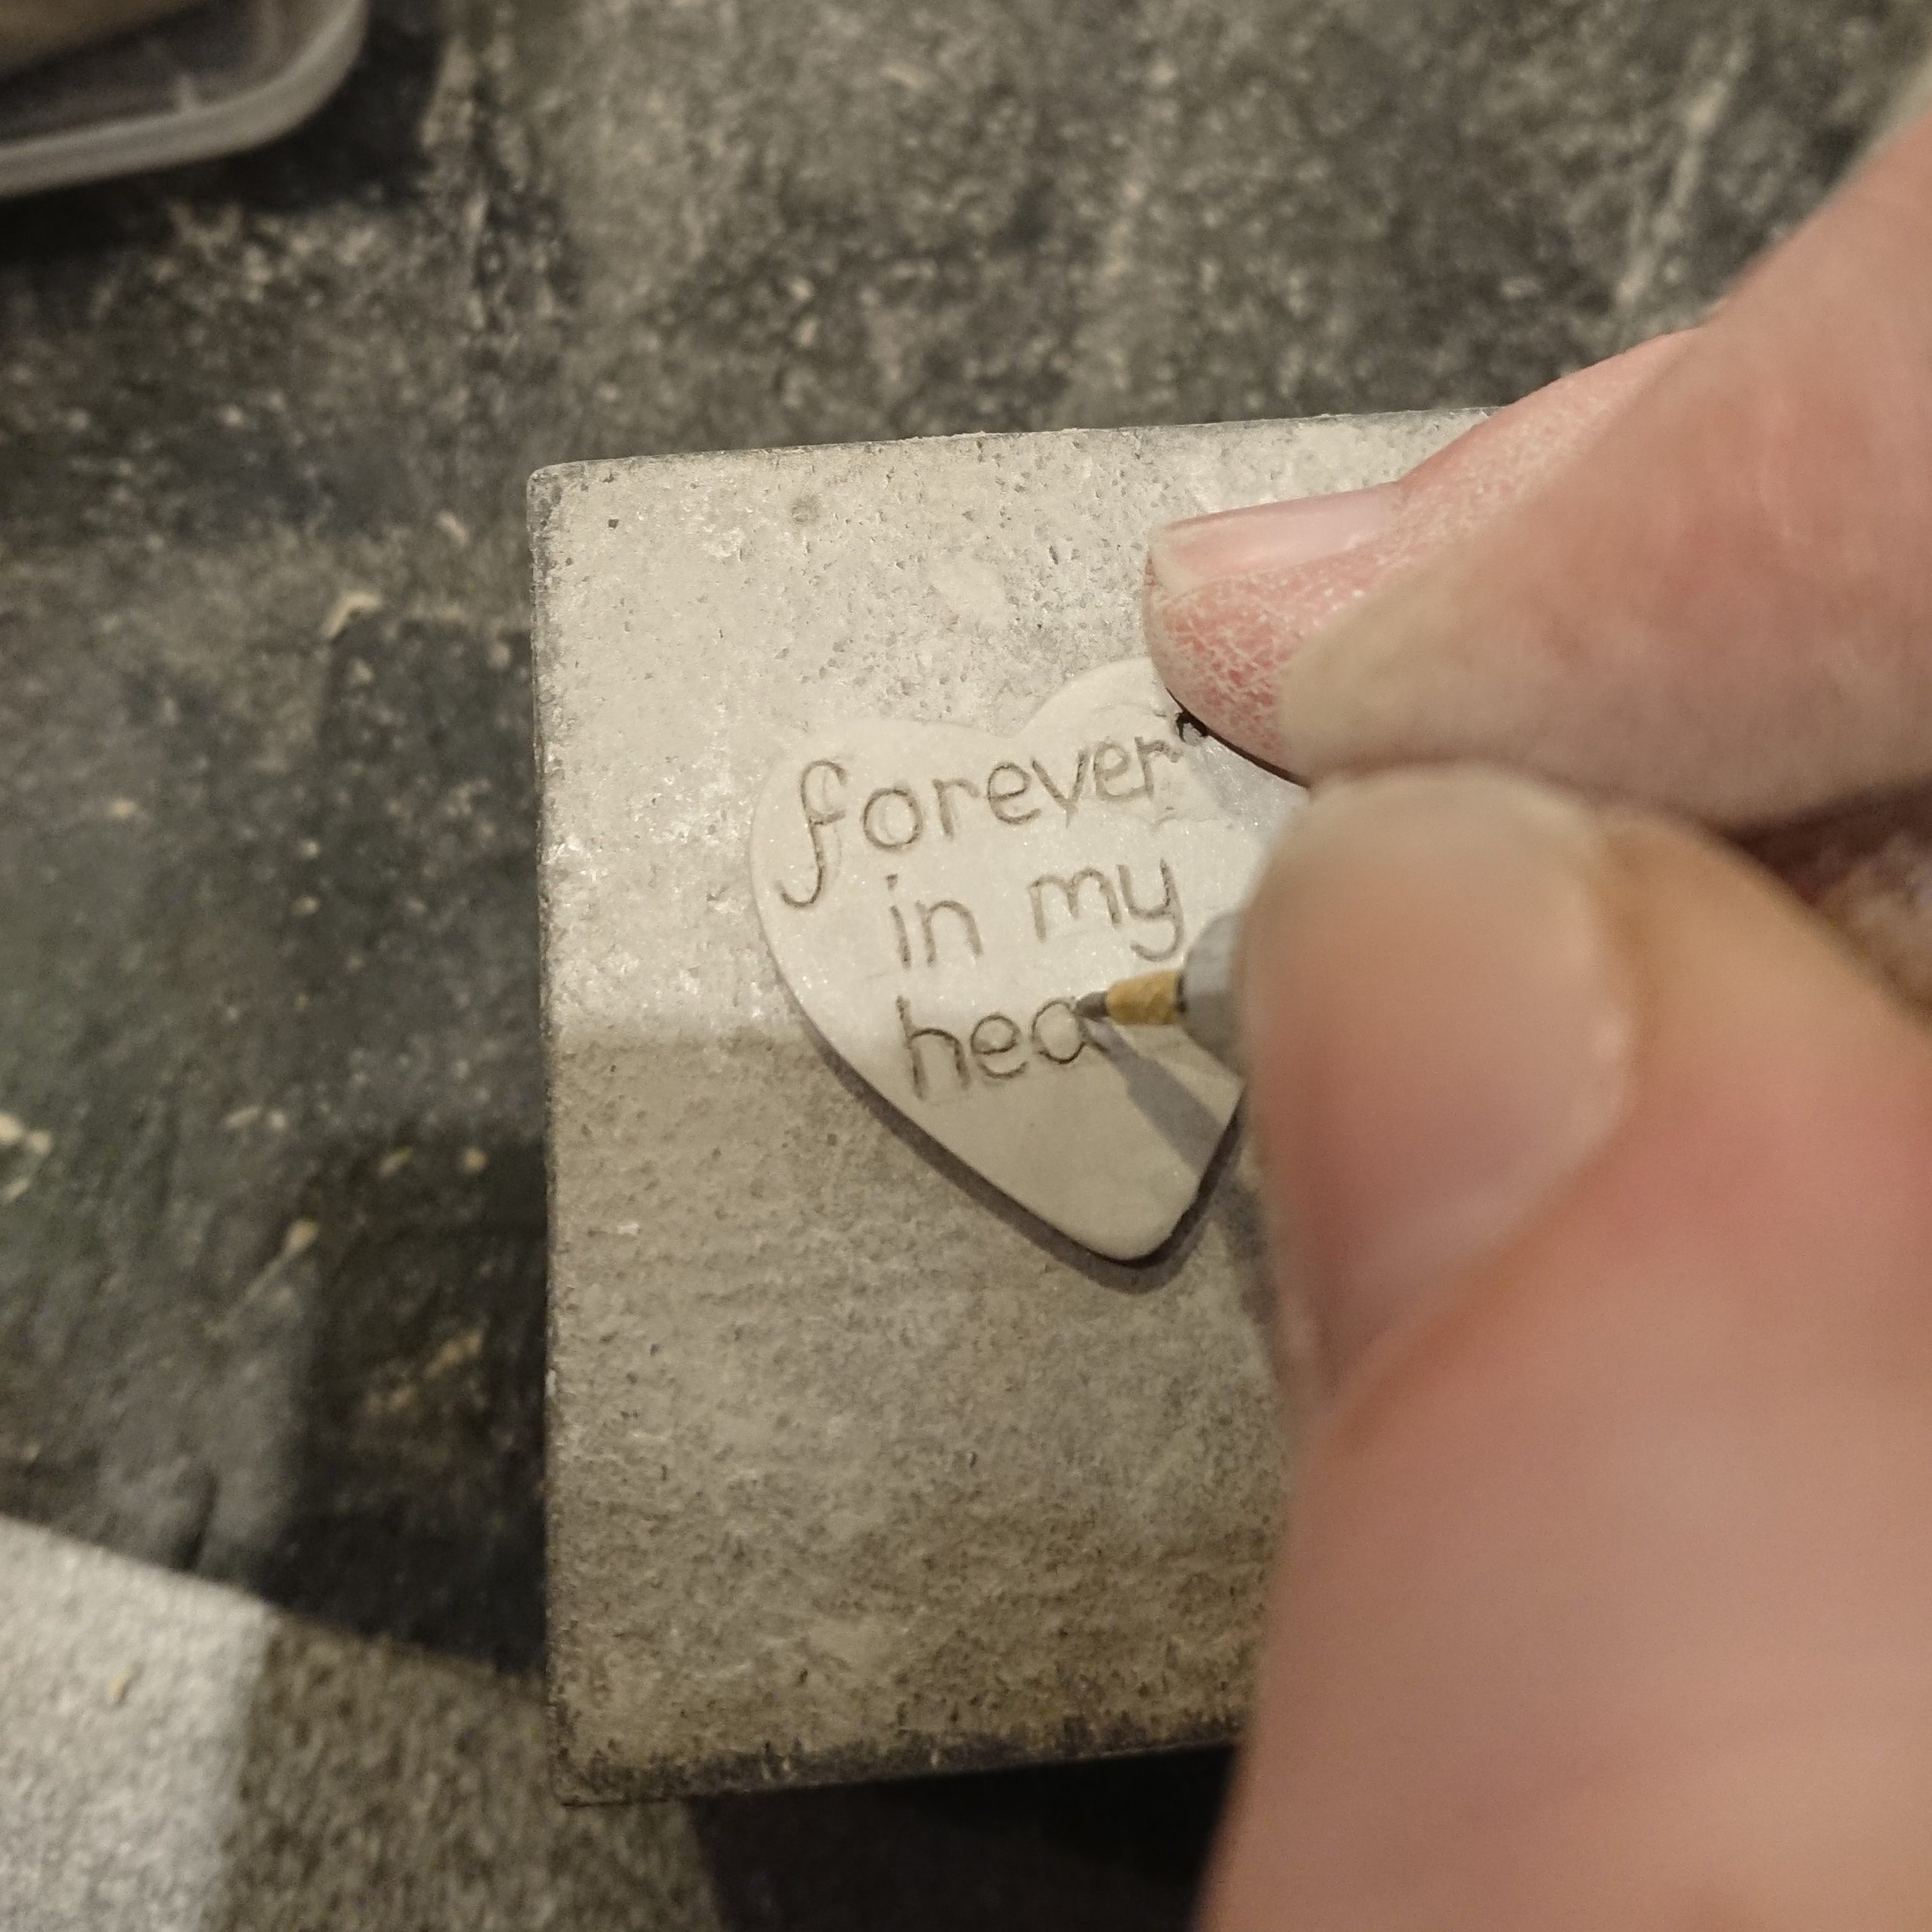
A special message inscribed by hand with a special tool.
Step 5: Firing your Paw Print Jewellery
Kiln firing of your piece is the next stage of making paw print jewellery. Paw print jewellery can be fired in a few different ways but the best way is to use a specialised kiln, which is the method we use at Cheeky Little Prints. All pieces of silver paw print jewellery are fired to temperatures of 870 degrees celcius for the optimum time and then slowly cooled before being removed from the kiln.
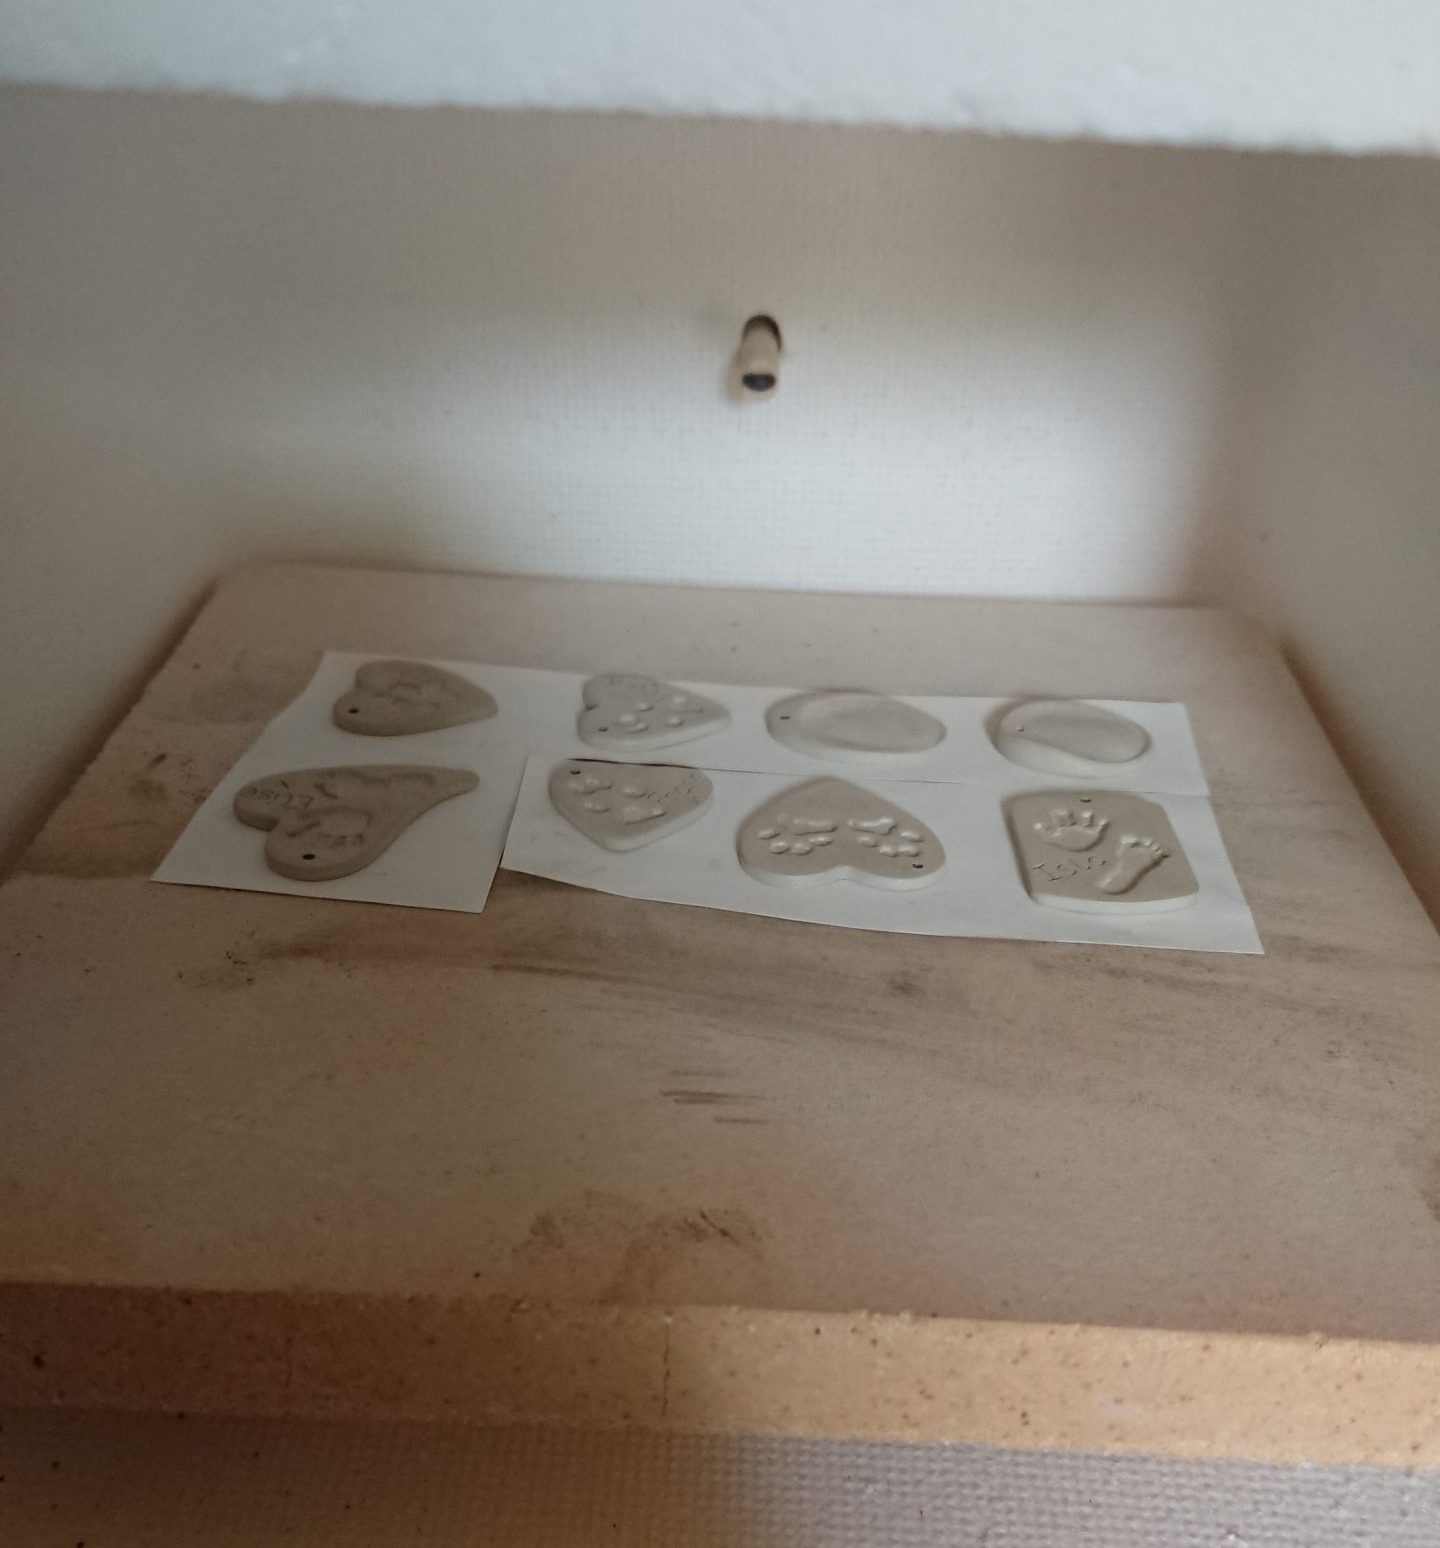
A collection of silver clay charms ready to be kiln fired
Step 6: The Polishing Stage of Making Paw Print Jewellery
Making paw print jewellery involves many different stages of polishing and finishing. The first involves using a dremel and brass brush attachment to close the surfaces of the silver metal. Once this is complete the silver jewellery is then dipped in a solution of hot liver of sulphur to antique it and bring out the details of the paw print and personalisation that was hand inscribed earlier.
The dremel is then used with a polishing attachment to remove the black antiquing from the rest of the jewellery. The next stage of polishing and making paw print jewellery involves a special jewellery polishing tool to polish the silver to a high shine using various different tools.
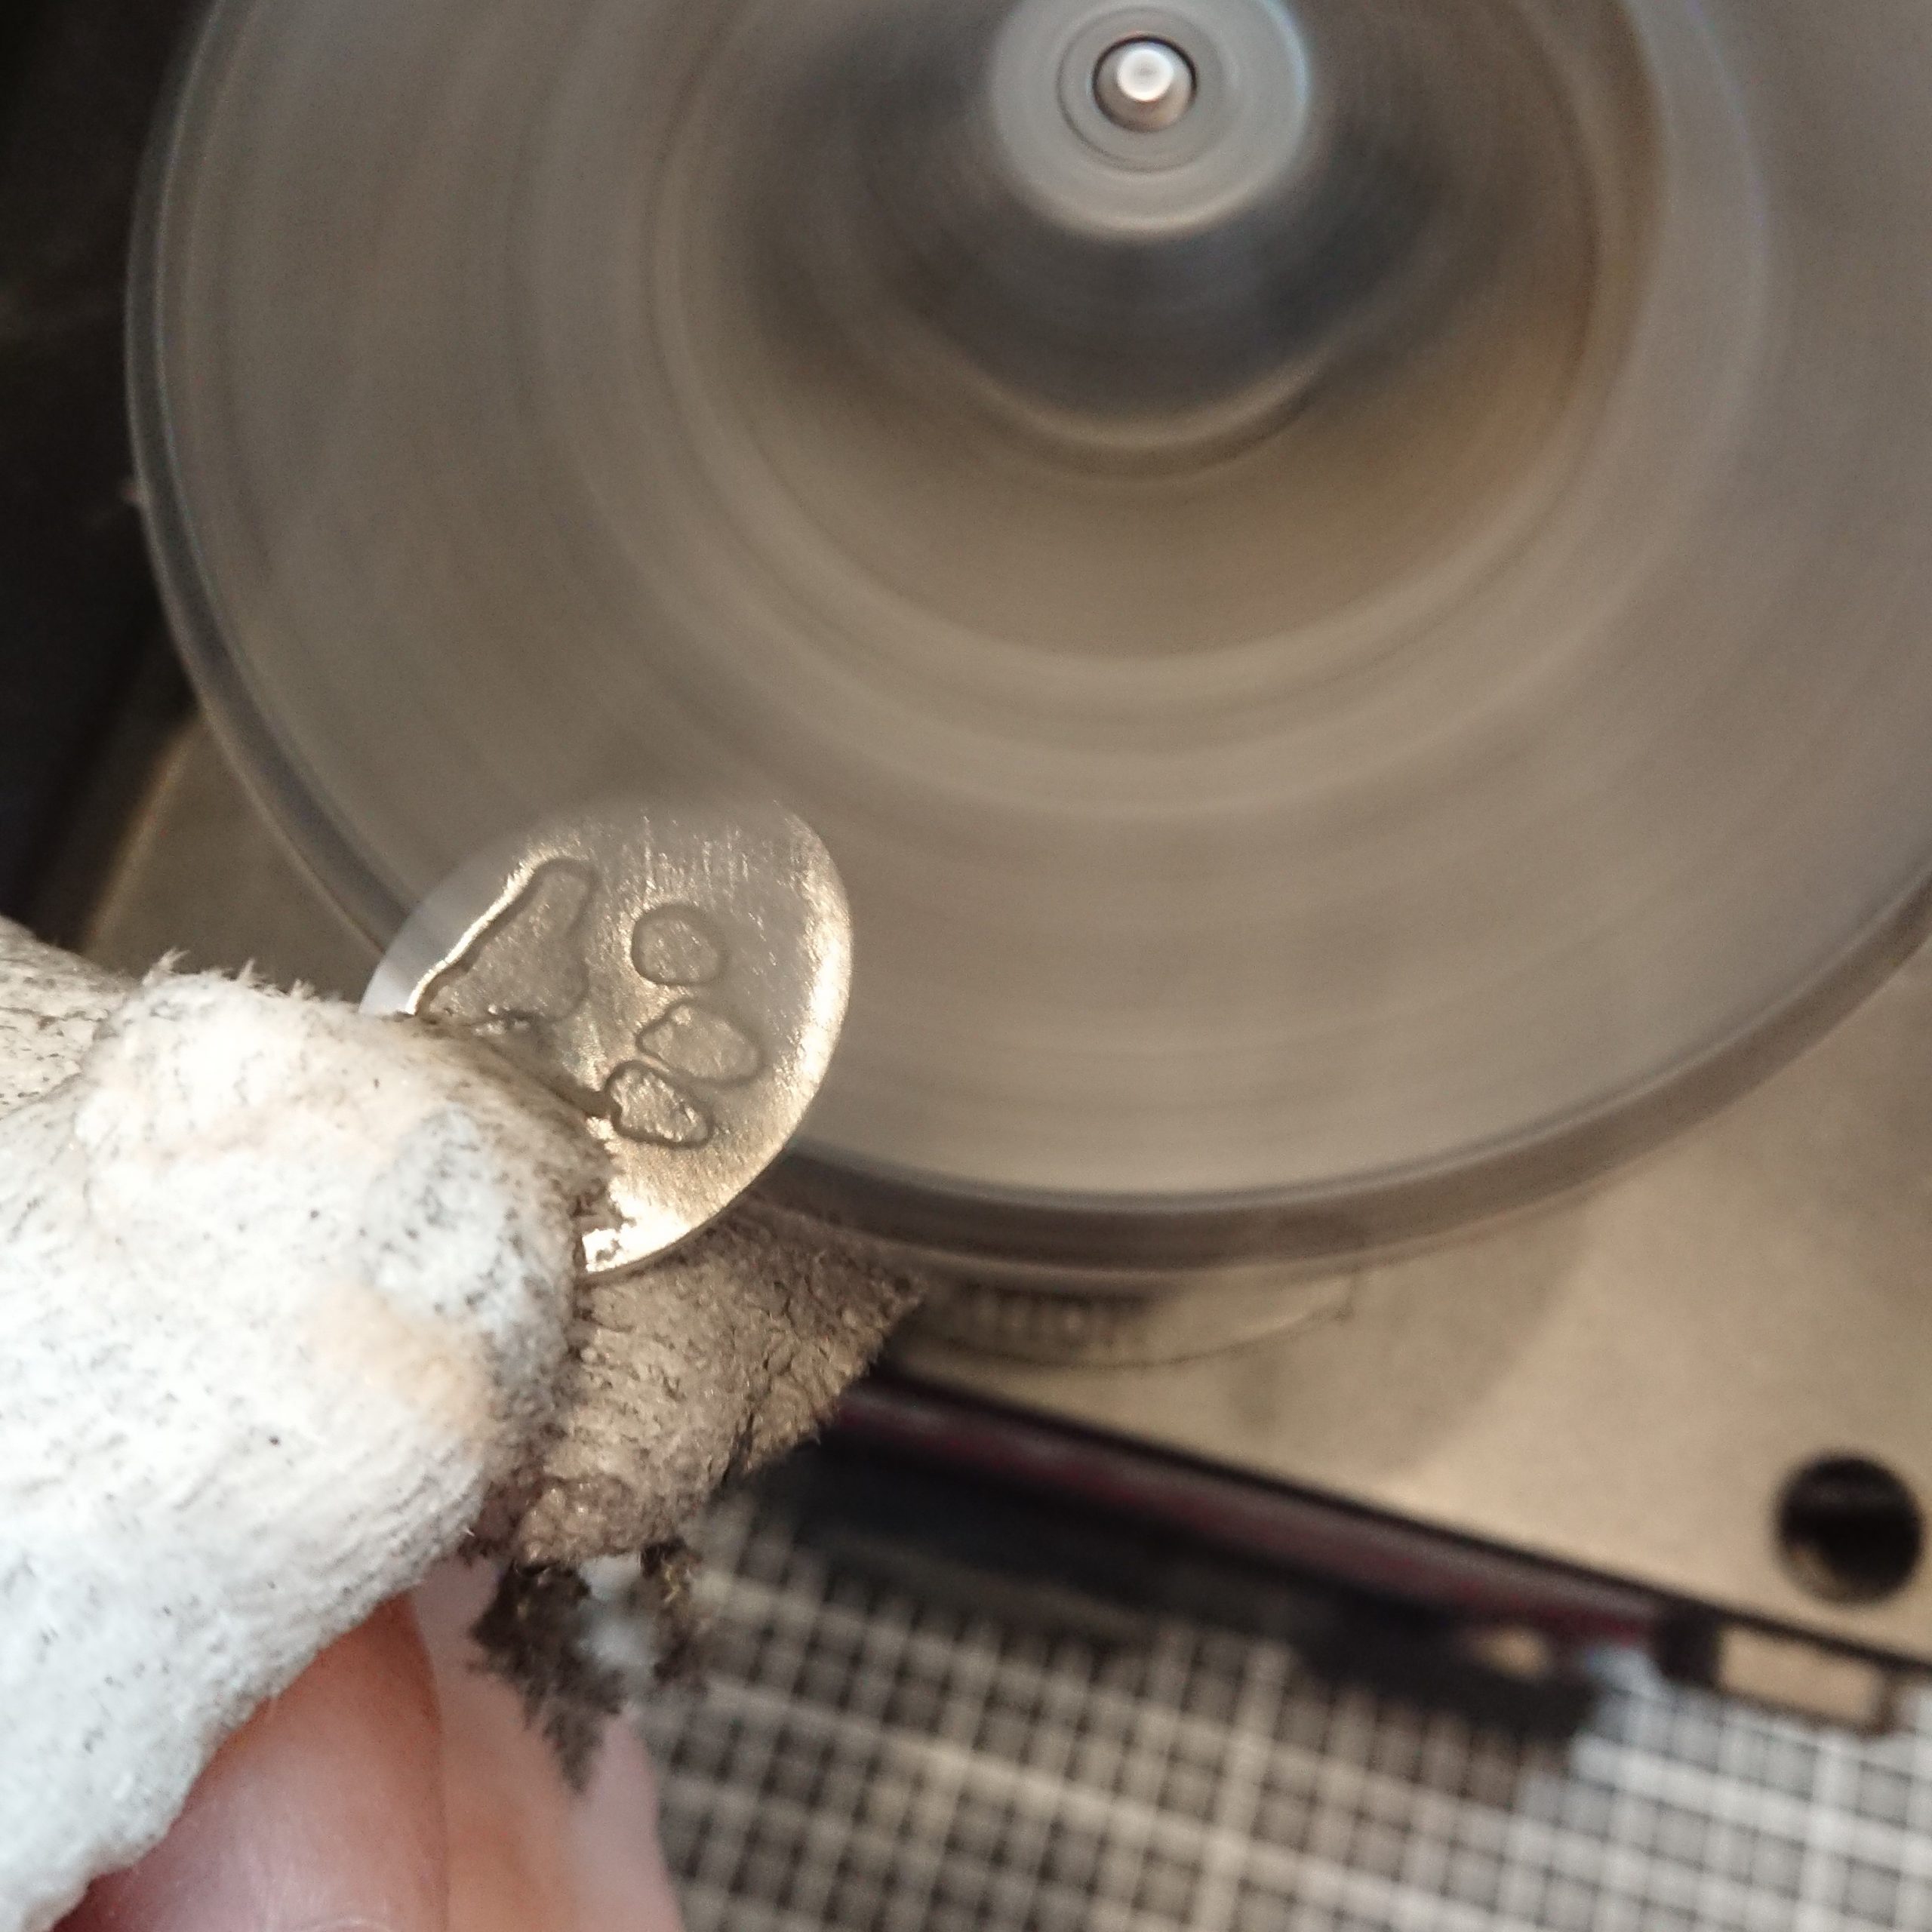
A silver paw print cufflink being polished to a high shine using a specialist jewellery polishing machine
As you can see making paw print jewellery is a very detailed process that requires a lot of specialist equipment, time and also experience. Lisa has over 13 year experience in hand crafting these specialist jewellery designs.
Creating paw print jewellery is an enjoyable process and it’s an absolute honour and pleasure to help you all capture your pet’s precious and unique paw prints in sterling silver jewellery so you can keep your pets close to your heart and with you forever.
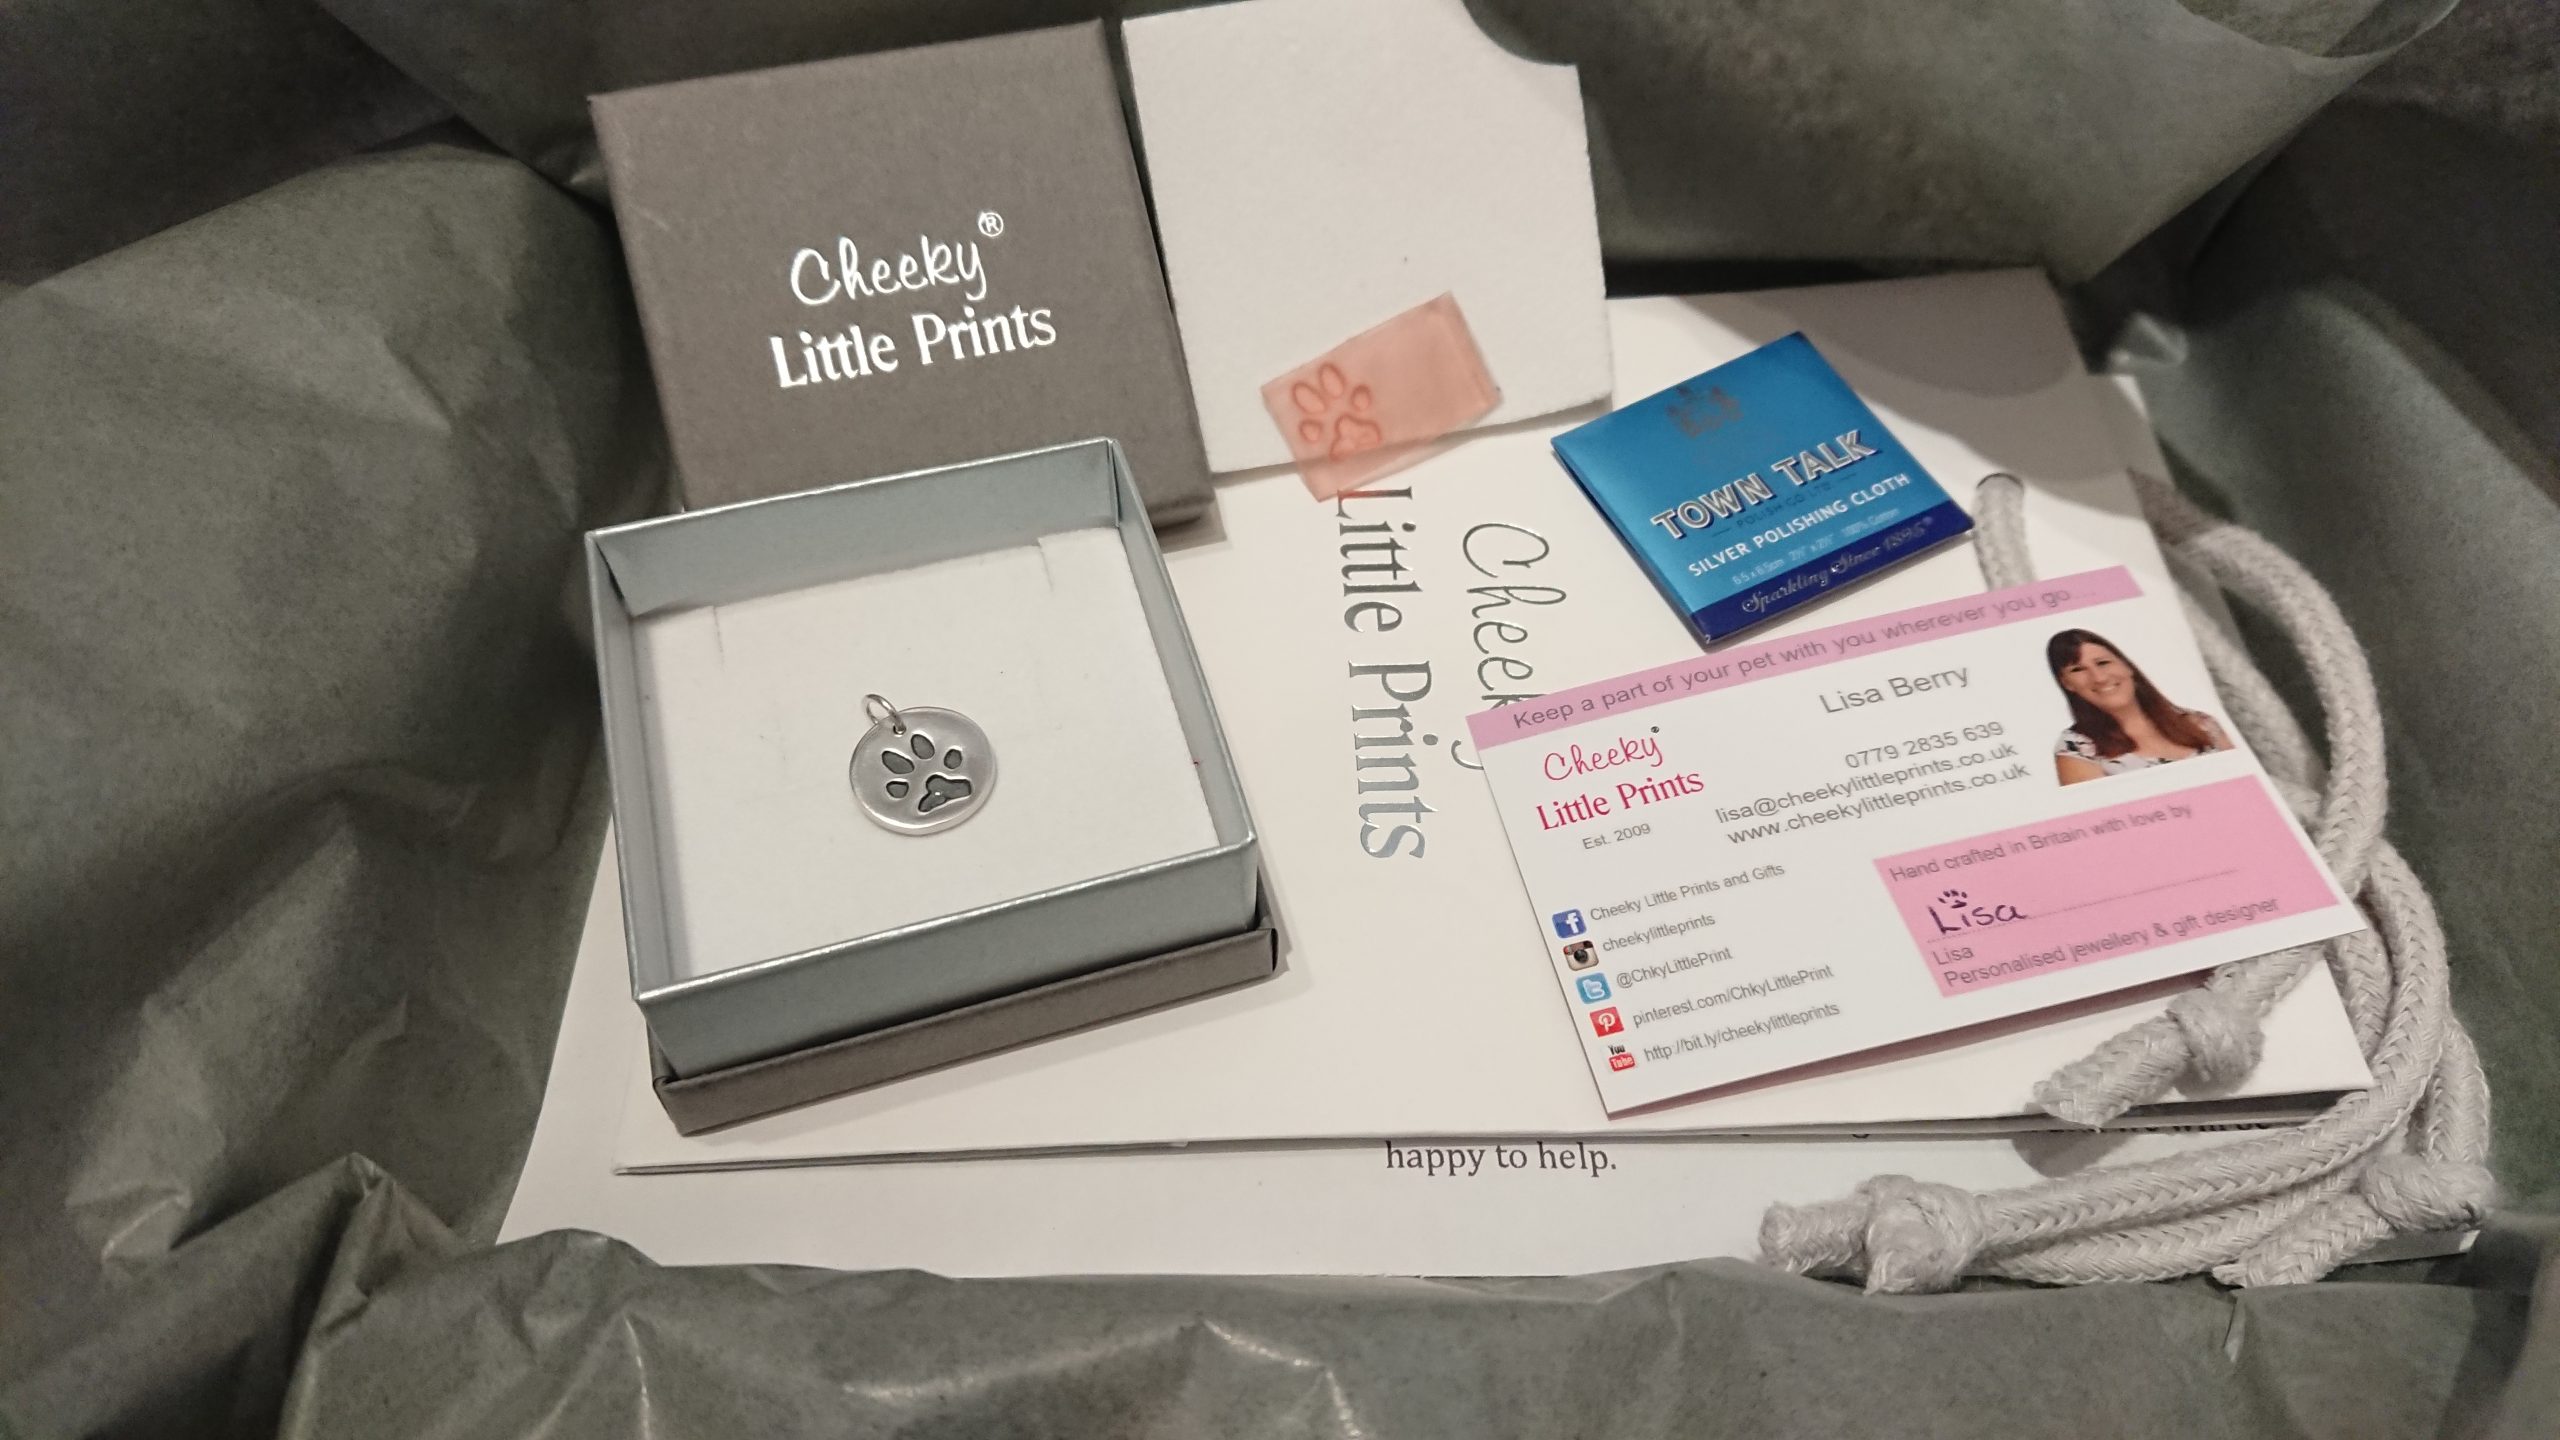
Finished silver paw print charm, carefully packaged ready to be posted to it’s owner
If you have any questions about silver paw print jewellery or how it is created, please get in touch and we will be happy to help.
Call Lisa on 07792 835 639 or email [email protected]

